
This guide provides DIY technicians with a step-by-step process for troubleshooting hardware problems in computers and electronic devices. It begins with identifying the issue, checking connections, testing the hardware, updating drivers, cleaning the device, and seeking professional help if needed. By following these steps, technicians can diagnose and resolve hardware issues on their own, saving time and money. It is important to take safety precautions and consult a professional if uncertain. Overall, troubleshooting hardware problems can be challenging but rewarding, allowing technicians to effectively maintain and repair their devices.
Troubleshooting Hardware Problems: A Step-by-Step Guide for DIY Technicians
Introduction
Hardware problems are a common issue that many DIY technicians encounter when working on computers and other electronic devices. Knowing how to troubleshoot these problems can save you time and money by allowing you to diagnose and fix issues on your own. In this guide, we will walk you through the steps of troubleshooting hardware problems.
Step 1: Identify the Problem
The first step in troubleshooting hardware problems is to identify the problem. This may involve checking the device for any visible damage or listening for any unusual noises. You should also gather as much information as possible about the issue, such as when it started and any error messages that have appeared.
Step 2: Check Connections
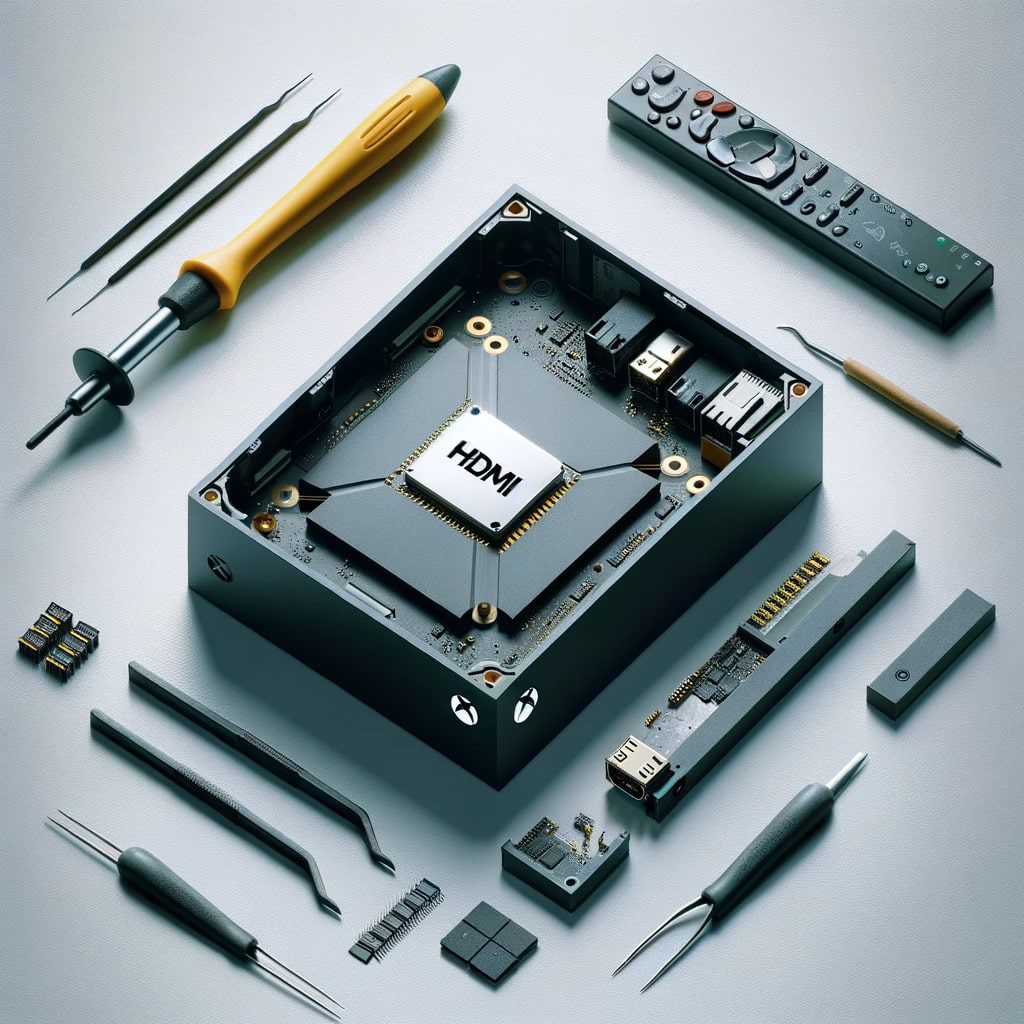
One common cause of hardware problems is loose or faulty connections. Make sure all cables and components are securely connected to the device. If you suspect a connection issue, try unplugging and reconnecting the cables to see if that resolves the problem.
Step 3: Test the Hardware
Once you have identified the problem and checked the connections, the next step is to test the hardware. This may involve running diagnostic tools or performing hardware tests to pinpoint the issue. You can also try swapping out hardware components to see if the problem persists.
Step 4: Update Drivers
Outdated or corrupt drivers can cause hardware problems. Make sure your device’s drivers are up to date by checking the manufacturer’s website for updates. You can also use driver update software to automatically update your drivers.
Step 5: Clean the Device
Dust and debris can cause hardware issues by blocking airflow or causing components to overheat. Make sure to regularly clean your device, paying particular attention to fans, vents, and heat sinks. You can use compressed air or a soft brush to remove dust and dirt.
Step 6: Seek Professional Help
If you have tried all of the above steps and are still experiencing hardware problems, it may be time to seek professional help. A qualified technician will be able to diagnose and repair the issue, saving you time and frustration.
Conclusion
Troubleshooting hardware problems can be a challenging but rewarding task for DIY technicians. By following the steps outlined in this guide, you can effectively diagnose and fix hardware issues on your own. Remember to always take safety precautions when working with electronic devices and consult a professional if you are unsure about any aspect of troubleshooting.