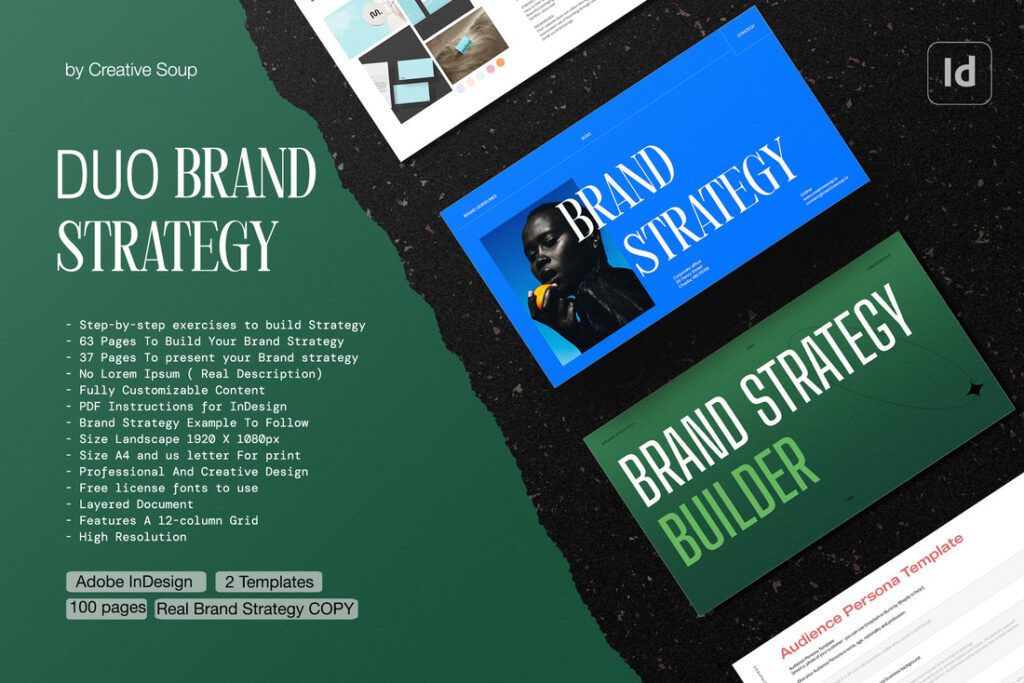
InDesign is a desktop publishing software used for creating professional documents like brochures, newsletters, and flyers. This step-by-step tutorial guides users through creating documents in InDesign, starting with setting up a new document with custom page size and margins. The tutorial covers adding text and images, formatting text, working with styles for consistent design, and finalizing the document by checking for errors. InDesign offers tools for text and object styling, making it easy to create appealing layouts. By following this tutorial, users can efficiently design professional-quality documents with InDesign’s powerful features.
Creating Professional Documents with InDesign: A Step-by-Step Tutorial
Introduction
InDesign is a powerful desktop publishing software that is widely used for creating professional-quality documents. Whether you are designing a brochure, newsletter, flyer, or any other printed document, InDesign provides you with the tools you need to create beautiful and functional layouts. In this tutorial, we will walk you through the process of creating professional documents in InDesign, step by step.
Getting Started
Before you begin creating your document, make sure you have InDesign installed on your computer. Once you have InDesign open, create a new document by selecting “File” > “New” > “Document”. Here, you can choose the page size, orientation, and margins for your document.
Layout and Design
When it comes to designing your document, InDesign offers a wide range of tools and features to help you create eye-catching layouts. You can add text, images, shapes, and other elements to your document by using the various tools available in the software.
Adding Text
To add text to your document, simply select the “Type Tool” from the toolbar and click on the canvas where you want to place your text. You can then start typing directly onto the canvas or import text from an external file.
Adding Images
To add images to your document, select the “Rectangle Frame Tool” from the toolbar and draw a frame on the canvas. You can then import an image into the frame by selecting “File” > “Place” and selecting the image you want to use.
Formatting Text
Once you have added text to your document, you can format it using the various text formatting options available in InDesign. You can change the font, size, color, alignment, and other properties of your text by using the tools in the “Character” and “Paragraph” panels.
Working with Styles
To create a consistent look throughout your document, you can use styles in InDesign. Styles allow you to define formatting options for text, images, and other elements in your document and apply them with a single click.
Creating Text Styles
To create a text style, select the text you want to style and then click on the “New Paragraph Style” button in the “Paragraph Styles” panel. Here, you can define the formatting options for your text, such as font, size, color, and alignment.
Creating Object Styles
Object styles allow you to define formatting options for images, shapes, and other elements in your document. To create an object style, select the object you want to style and click on the “New Object Style” button in the “Object Styles” panel.
Finalizing Your Document
Once you have finished designing your document, you can finalize it by checking for any errors or inconsistencies. You can do this by using the preflight feature in InDesign, which will identify any potential issues in your document, such as missing fonts or overset text.
Conclusion
Creating professional documents in InDesign is easy and efficient, thanks to the software’s powerful tools and features. By following this step-by-step tutorial, you can design beautiful and functional layouts for brochures, newsletters, flyers, and other printed materials. So, next time you need to create a professional document, give InDesign a try and see the difference it can make.
